Overview
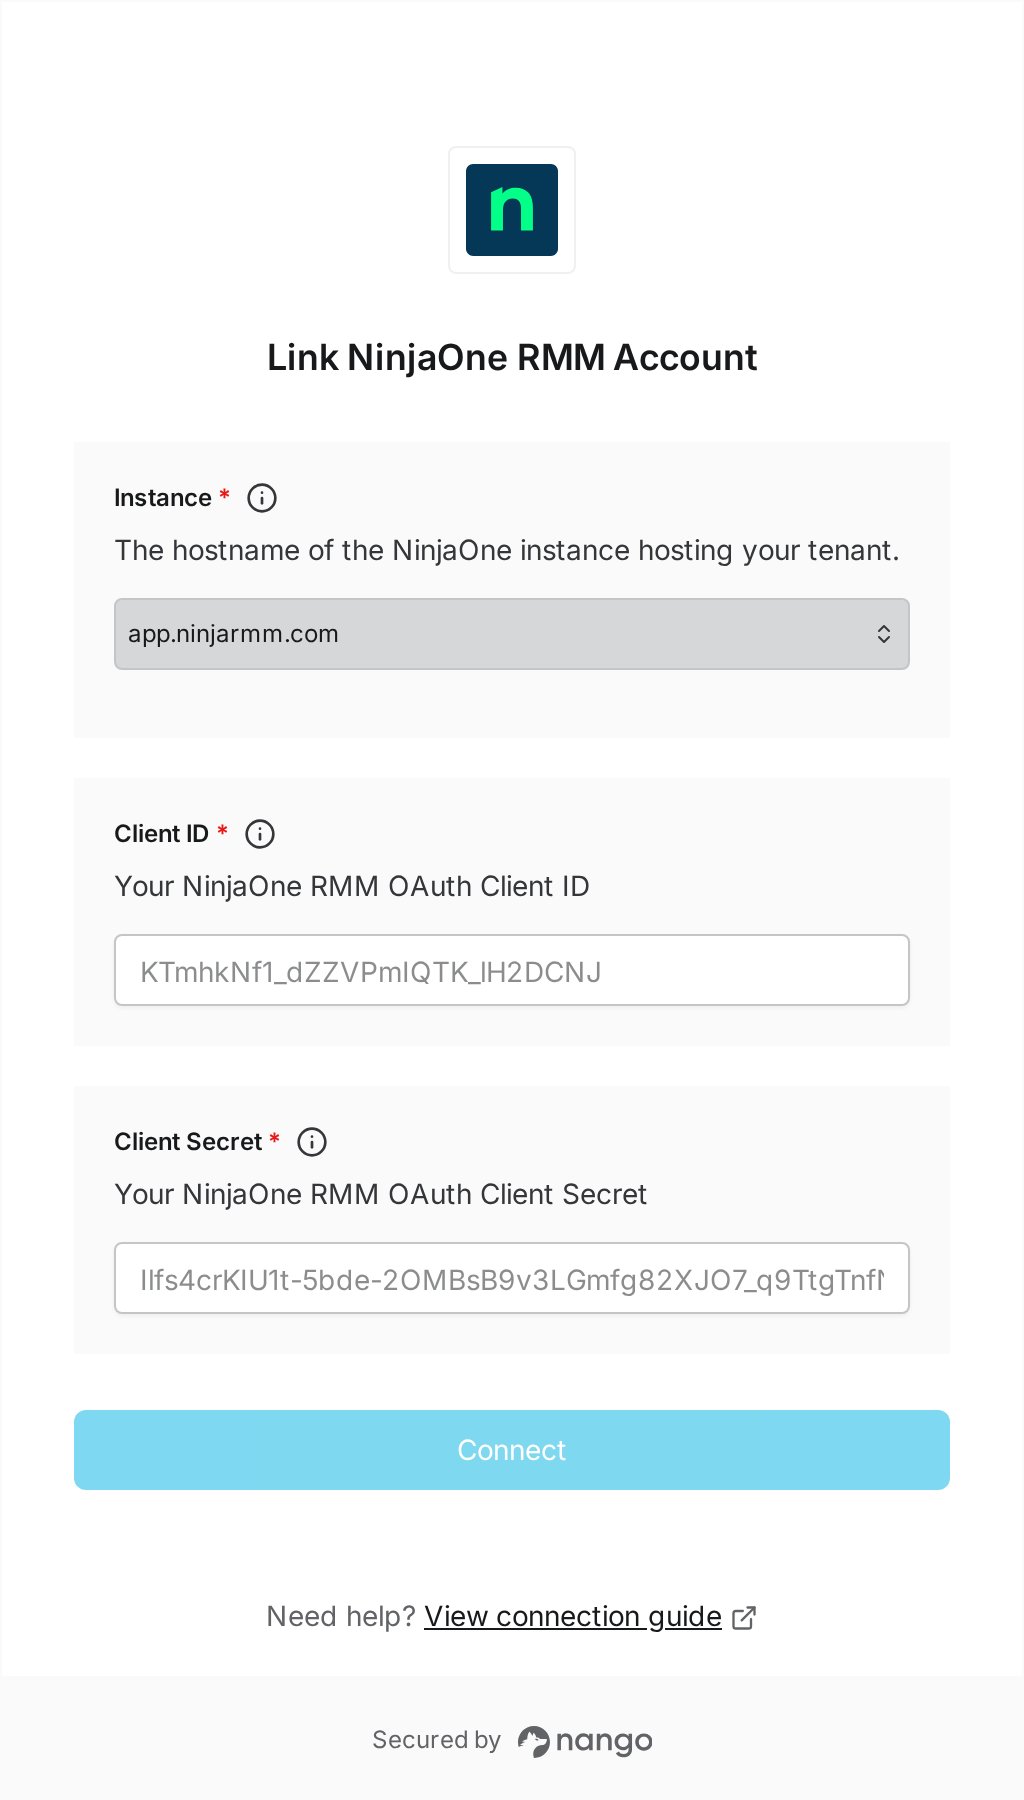
To authenticate with NinjaOne RMM, you need:- Instance – The hostname of the NinjaOne instance hosting your tenant (
app.ninjarmm.comfor North America,us2.ninjarmm.comfor US2,eu.ninjarmm.comfor EU,ca.ninjarmm.comfor Canada,oc.ninjarmm.comfor Oceania) - Client ID – Your OAuth application’s Client ID
- Client Secret – Your OAuth application’s Client Secret
Prerequisites:
- Admin access to your NinjaOne RMM tenant.
Instructions:
Step 1: Create an OAuth Client Application
- Log in to your NinjaOne instance (
app.ninjarmm.comfor North America,us2.ninjarmm.comfor US2,eu.ninjarmm.comfor EU,ca.ninjarmm.comfor Canada, oroc.ninjarmm.comfor Oceania, depending on where your tenant is hosted). - Navigate to Administration > Apps > API.
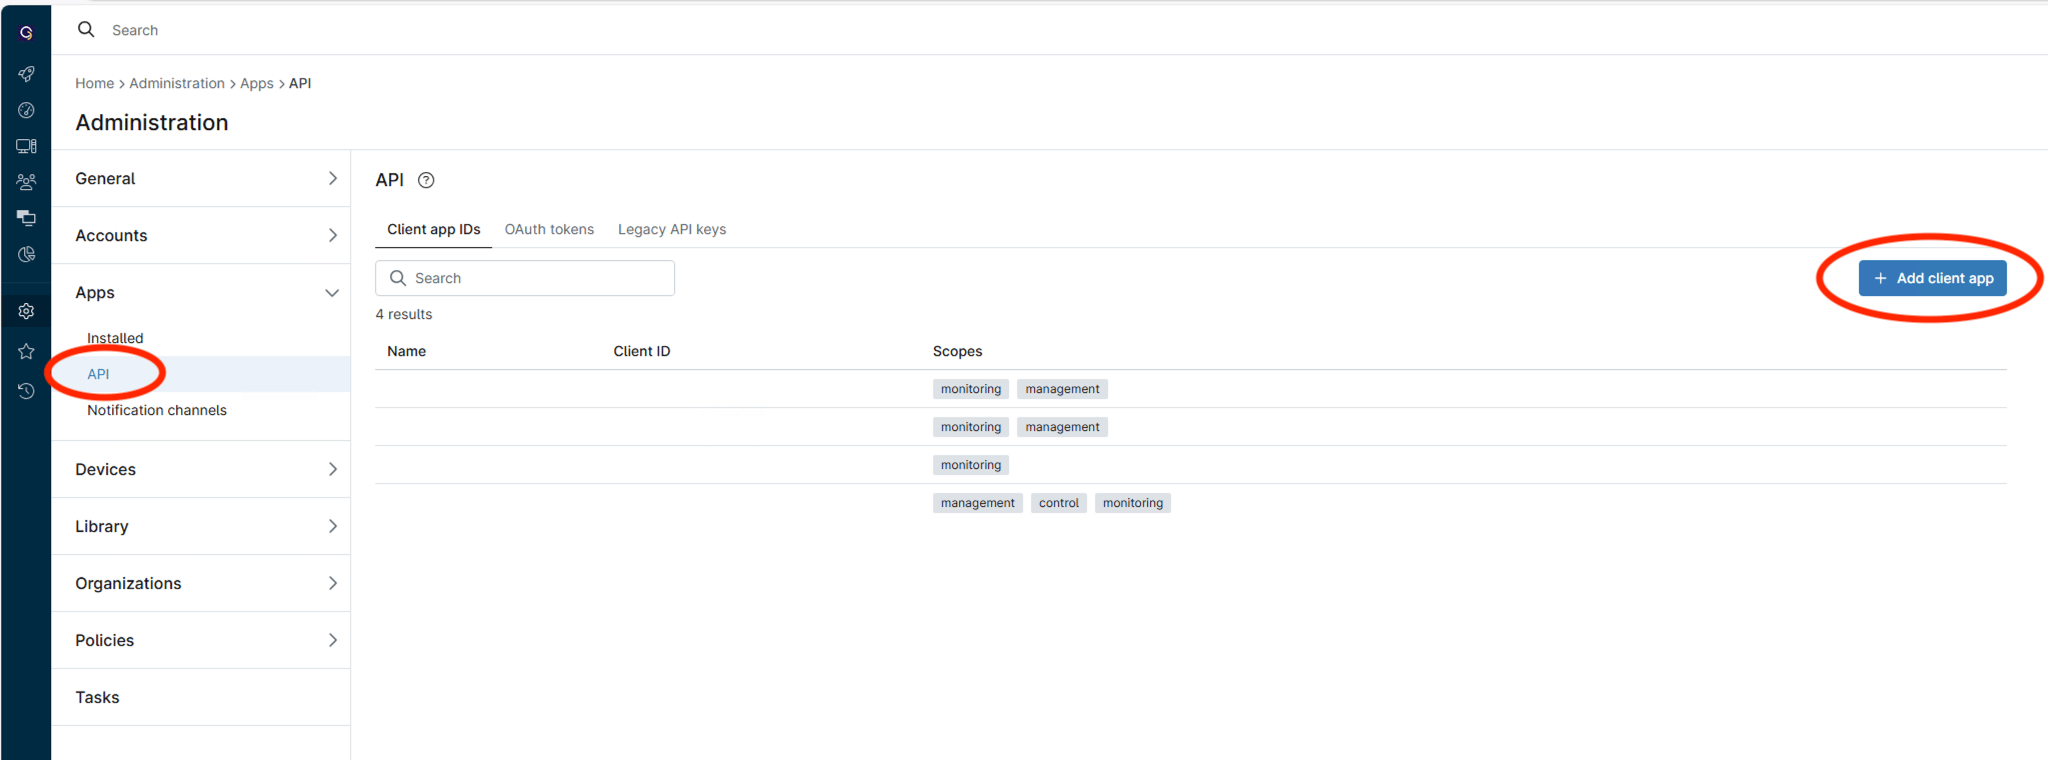
- Click on the Client App IDs tab.
- Click the Add button to open the Application Configuration form.
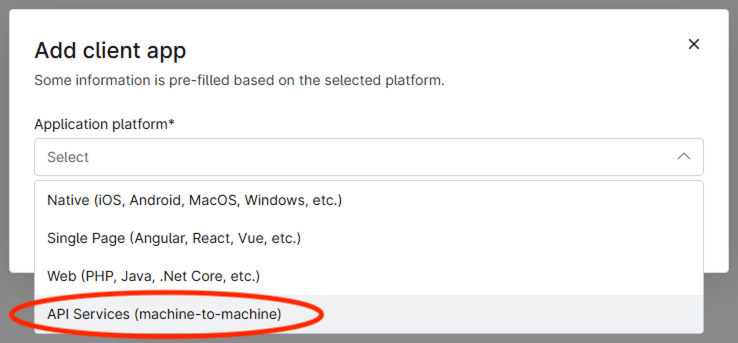
- Select API Services (machine-to-machine) as the Application Platform.
- Select the appropriate permissions for your application (Monitoring, Management, and/or Control).
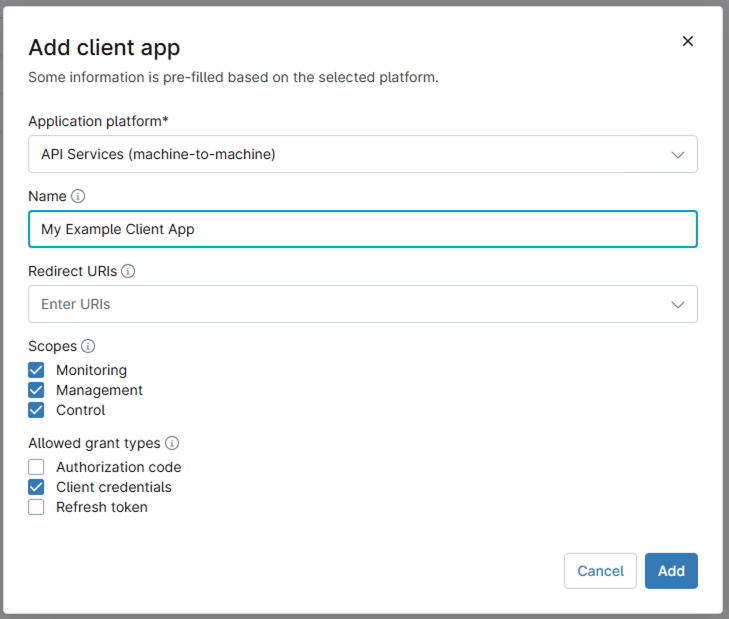
- Ensure Client Credentials is selected in Allowed Grant Types.
- Click Add to create the application. You may have to perform a multi-factor authentication step to finish adding your new application.
Step 2: Copy your credentials
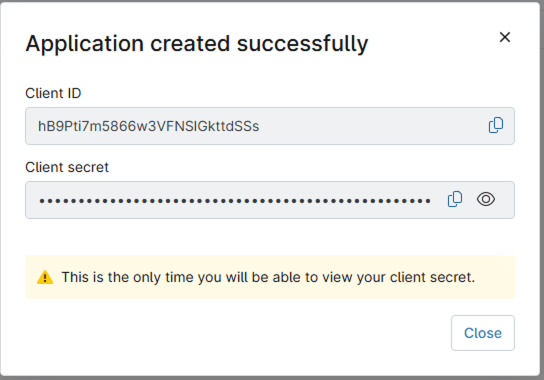
- After creating the application, the Client ID and Client Secret will be displayed.
- Important: Copy and securely store both values immediately. The Client Secret is only shown once and cannot be retrieved later.
Step 3: Enter credentials in the Connect UI
Once you have your Client ID and Client Secret:- Open the form where you need to authenticate with NinjaOne RMM.
- Select the Instance hosting your NinjaOne tenant.
- Enter your Client ID and Client Secret in their respective fields.
- Submit the form, and you should be successfully authenticated.